Sunday, February 26, 2017

I Have My "Sites" Set on Google!

My Google Tools for Educators class is coming to a close, but I have gained so many useful skills that I will continue to utilize every day! I have made some changes in my class, and my students are LOVING it. In fact, this week, we are doing our first-ever paperless writing project! They wrote procedural papers in Google Docs and submitted them to me in a shared folder. Next, I will grade them on a rubric through Google Sheets and place it in our shared folder, as well. We're saving the planet - one Google project at a time! So amazing!

Now on to the latest tool we learned about:

Google Sites:
This was a very exciting week for our class because this is a tool that I can immediately use - as is - for my class. Google Sites (or rather - The NEW Google Sites - launched in November 2016), is an easy-to-use website builder. As with most Google tools, it's fairly intuitive.
Watch this video to see how to get started.


This link will take you to the Google Sites page, which is an alternative route to get started (similar to opening up the Sheets page first to begin a new Google Sheet). From there, you also have the option to go back to the Classic Google Sites version.
I wouldn't recommend starting a new website using the classic version because that version will eventually be phased out. Read this for more info directly from Google. 

Now that your site is started, how do you add content? I'm so glad you asked! Here you go...

Once content is added, you can start to customize your website to meet your preferences. Here's how...


When your website is exactly how you want it, you can click that big, blue "PUBLISH" button at the top. Now you're ready to pass along your brand new web address!

Some tips:
  • As with most Google applications, you have the option to collaborate. Just click on the "add editors" button, and share away. This would be perfect for a grade level team, so they can all go in and add their own content. 
  • When you are adding content from your Google Drive, make sure that the files are set to "anyone with the link can view." Otherwise, no one will be able to see your content, which defeats the purpose. Here's how.
Overall, I really enjoy using Google Sites. Those that like more options for fonts, themes, etc may find this interface fairly limiting, but because this new version of Google Sites just went live less than four months ago, I think we will see more possibilities in the future. I believe it's best to start out simple and add more choices as you go.

I will leave you with my own classroom website to peruse at your leisure. Enjoy!

Sunday, February 19, 2017

Google Earth vs Google Tour Builder

I've been on a world tour this past week, and I didn't have to pack a thing!

I will be the first to admit - maps haven't really been my... thing. Geography wasn't my strongest area of study, for sure. Enter: Google Earth and Google Tour Builder. Man, how I wish I would have had these impressive online tools when I was a kiddo! It's really amazing how exploring an interactive map can bring Lewis and Clark's expedition to life, and it's thrilling to be able to get down on street view and explore the avenues of Paris without even leaving my house.

Google Earth: 
To use this feature, you will first need to download Google Earth. Once you have done that, you can start exploring. I recommend searching for your own address first. This will show you how accurate Google Earth is. My favorite feature is the historical imagery. You can view aerial images from years back, and see how the area has changed. I enjoyed watching my neighborhood as it was built up from farmland.  Here's the town where I live shown in 1991, and then in 2016. Just a BIT of growth in the past 25 years!
Gardner in 1991

Gardner in 2016
 This week I plan to send my students on a virtual scavenger hunt around the Midwest Region of the United States since we just finished studying that area. I will give them clues (I have four heads but no brain! - Mt. Rushmore; I am the Gateway to the West. - St. Louis Arch; My land's not so Bad. - Badlands National Park), and they will place pins to show they found the locations, and write down the map coordinates.

Google Earth also has street view.

This is a fun way to explore a city you may be thinking of visiting, or for students to feel like they are taking an actual field trip to a different city. Here, we get to visit the base of the Eiffel Tower:
Street View of Eiffel Tower
You can also be in map view with 3D buildings. I think this is really awesome for kids (and this 38-year-old kid who has never been to Paris) to see the size of the Eiffel Tower in relation to everything around it.
3D Buildings View
Google Earth can be fun to just explore, but you can do so much more with it. You can change the view by tilting it or changing your orientation. You can add placemarks and save locations to visit again later. With the placemarks, you can set up a virtual tour, as well.  Speaking of tours...

Google Tour Builder:
I had a lot of fun playing with Google Tour Builder, and it feels a little more user-friendly than setting up a tour within Google Earth. It uses the same technologies for searching and finding locations but is set up specifically for making tours.  Check out my example tour here. I can see this being used in the classroom for any number of reasons. A music teacher might visit the birthplaces of different composers. An art teacher could visit museums throughout the world. A history teacher could trace the route of the Westward Expansion or plot the important battles of the Civil War.  With each stop on the tour, there is the ability to add photos, videos, and/or an explanation.  You could view this whole class, or give students the opportunity to explore the tour at their own pace and take notes as they go. 
The background of Tour Builder is pretty inspiring:

From the Google Tour FAQ page
My students will be their own Tour Guides around different areas of Kansas City this week, as they plan virtual tours in small groups. Each group will be assigned a different area of the city to present to the rest of the class.

Both of these tools are fantastic resources for the classroom. My students have been very curious about Google Earth, and now I'm excited to tell them that we're finally going to be using it in class!  I love how interactive Google Earth is, and how easy-to-use Google Tour Builder is. Out of the two, I think GTB wins my heart.  Since it's only in beta I can only imagine how much it will grow and expand in the coming years. It's an exciting time in education!


Sunday, February 12, 2017

More Fun with Google Tools

This week of class has been a lot of fun for tech exploring! I played around with YouTube, Story Builder, and some other exciting tools.  Here's a little about what I learned:

YouTube:
I have been using YouTube for a long time, but mostly it was just to look up a video to use in class or to listen to a song that I wanted to hear. I knew there was a way to make a playlist, but I hadn't really messed with it much until now. Making a playlist is easy, and can be useful for planning lessons or professional development for staff. Recently at our school, we talked about helping students conduct meaningful research in an age of online "fake news" and untrustworthy sources.  Here is a YouTube playlist I made on this topic. I plan to use the videos spread out over a long period so we can revisit reliable research often.


There are 6 videos in this playlist. You can add as many as you like to yours, and then they are easily retrievable from your YouTube main page.

Another great feature of YouTube is the ability to customize a video to start after the beginning.  When watching a video, simply pause it where you want your audience to start viewing, and then copy the code. This will give you a shareable link for your viewers so that the video will be primed to start at the point you indicated.


If you want to do more with a video, try using EDpuzzle through Chrome. It has even more features, and students will be watching a video outside of YouTube itself so they will be less likely to become distracted. EdPuzzle gives the teacher the option to add questions and audio notes and allows you to embed the video or share a link. Here's more information on EDpuzzle:


Story Builder:
This is a fun tool to use in class. Story Builder is a story maker where you create characters that have a dialogue with each other. It's very simple and easy to use. I may try it in a writing center, and allow students to work in pairs to create a collaborative story, or do a whole-class story, where each student adds a few lines. Another idea would be to write a story to introduce or review classroom procedures or expectations or to teach social skills. I plan to write a series of stories about bullying from the perspective of the bully, the bystander, and the victim. I think these would be useful for upper elementary and above since the text moves pretty quickly. Here's a quick guide, and here's an example that I wrote.

Spell Up:
I think the concept of Spell Up is pretty awesome. I could use this in a center for my higher kids - a challenge for them.  It would also be a good time filler for those that are early finishers. There are fun challenges: Guess the mystery word, rearrange, add missing letters, spell the word. There are power-ups, and other engaging “helps” that would entice the students’ gaming tendencies. It also gives you the option to skip levels if you do really well on a level, which helps find the best level for each person.

Spell Up is not perfect, however. I couldn’t get it to work very well at first because the computer had a hard time understanding what letter I was saying, even though I spoke loudly and clearly. On most letters, it worked just fine, but on some, it didn’t register that it understood what I was saying.  If it worked more consistently, I would give it a rave review. It is also important that you spell very slowly, which could be frustrating for students that are strong, fast spellers. Although, if you go to the settings, you can turn on the keyboard. That way, you can spell using the keyboard, which I like better. I appreciate that it goes back to missed words, so you have another shot at them. You can also save and continue later, which is a nice feature. The kicker for this one: it's only available on Chrome.

Check it out:


Google Translate:
Google Translate can translate between 103 different languages. I use this tool often when I come across a post from one of my Facebook friends from another country. They sometimes post in their native language, and this way, I can keep up with them more easily.  It’s really easy to use, and pretty accurate. Now that they have updated it to using Neural Machine Translation, it’s infinitely better. No more choppy English (or Spanish, Arabic, etc) translations.  It translates entire sentences or paragraphs instead of going word by word. This makes for more natural-sounding translations.  

I already use this tool in the classroom with a student who came to our school in August knowing minimal English. With total English immersion, ESOL support, and the added tool of Google Translate, she is now virtually fluent in English. This tool would not only be helpful for students in the ESOL program, but for students in our Spanish class. They can use Google Translate to help them with their projects and presentations in Spanish. With the option to have the translation spoken, students can use an iPad with Google Translate as assistive language technology!


World Wonders Project and Google Art Project:
See the World Wonders project for yourself:


Both of these tools would be great for researching time periods, locations, culture and art of any topic a student might be studying. I could take the entire class on a virtual field trip and explore to bring the places we read about to life. I'm excited to use this tool in my class very soon!

I love that there are so many tools that I can use in the classroom. Variety helps keep school engaging for our students, so it's good to switch things up every once in a while. All of these tools will help me accomplish that for my kiddos. Thanks for playing!

Sunday, February 5, 2017

Photos, Calendar, and Keep... Oh My!

I've been having fun using some practical Google tools this week. These three are not only going to help me in my professional organization but also personally. It takes some work to organize life with a family of 6! Here's what I've discovered this week.

Google Photos:
My iPhone is breathing a great, big sigh of relief now that I'm not using all of my available space for pictures! Google Photos makes it easy to transfer all of your pics to the Google cloud. Once you give permission for the app to access your photos, the syncing begins immediately.

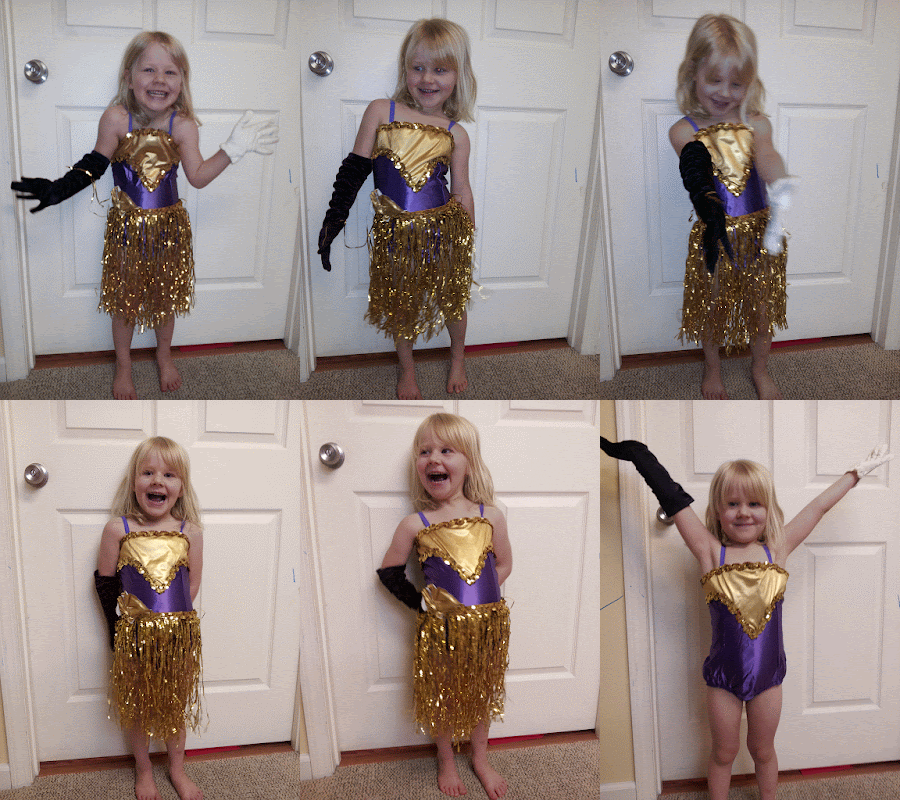
But, wait! There's more! GP has a built-in "assistant" that automatically makes albums, animations, collages, and movies from your pictures and videos.  You can choose to save their creations and/or make your own.  Here is an animation I made using some photos of my middle daughter playing dress-up in my old dance costume:


And here's an animation that was automatically made by GP from a video of my youngest:


Along with animations, you can create movies and collages, and use many different filters and effects to enhance your photos. Here's a photo I took of the Kansas capital building in Topeka with an added filter and vignette. I think it looks like a postcard!
Within GP, you can do a search for a specific type of photo. For example, if you search for "beach", it will bring up all of your photos of a beach.
There are so many more tips and tricks to Google Photos, so you'll just have to check it out for yourself. 


Google Calendar:
I have tried a few digital calendars in the past ten years or so.  The first one I fell in love with was my Palm. I loved that it was color-coordinated for each member of the family. Alas, that went the way of all Palms, and I had to move on.  

After searching for a while, I came across an app called Cozi. What's great about this app is that you can share events with other family members and integrate sports calendars, school calendars, etc. The downside is to get all of the features, you have to pay for Cozi gold.  

I took some time off from Cozi for a while because I was required to use my work Outlook calendar for my job, and there was no way to sync Cozi to Outlook easily.  This took away my ability to share a calendar with my husband, which was a bummer, so when I left that job, I went right back to Cozi, and sprang for the gold subscription.

Now that I'm taking this Google Tools for Educators class, I decided to give Google Calendar a try.  So far, I'm really enjoying all of the features. I can make separate calendars for work and personal events, as well as color-coordinating. Everything is seamless between all of my devices, and I love that! I can share my personal calendar with my husband, and I can share my class calendar with parents. I even embedded my class calendar on this blog! 

Try it for yourself!


Google Keep: 
This tool is FANTASTIC for organizing all of the random thoughts I have throughout the day. I use WAY too many sticky notes on a day-to-day basis, and this replaces most of them.  I can make quick notes, voice memos (helpful when on the go), reminders (that show up in my calendar), to-do lists (that I can check off - a gratification I NEED), and even snap a photo! There is also the ability to assign tags to notes and color-coordinate. Can you tell I'm obsessed with color-coordinating?

Isn't it pretty?

Plus, like everything Google, you can access your Keep from any device.  No longer do I need to bring home my stack of sticky notes with all of my reminders for the day. It's all right there in Keep! I'm just getting started with this tool, but loving the ease of it. Play around with it, and see if it's right for you. This site shares ten creative ways you can use Keep.

Next week, I will be exploring YouTube, Story Builder, and a few other Google tools. I can't wait to tell you all about it!